by Shenir Dennis
Not all hair brushes are created equal — especially when it comes down to hair type, texture, and style. Brushes that work best for 2C hair probably won’t work as well on 4C hair given their vast differences in curl tightness.
But what about for certain stages of the styling process?
From detangling to drying to styling, using a different brush for whatever state your hair is in is just as important. Don’t forget that certain styles also require certain brush types for proper maintenance. It might be time to skip that old wooden brush you use for literally every step of your hair process in place of something that suits each step better. We’re sure that ol’ brush has served you well, but we guarantee that we can show you some brushes that will do it better!
What we’ll cover:
Detangling Brushes
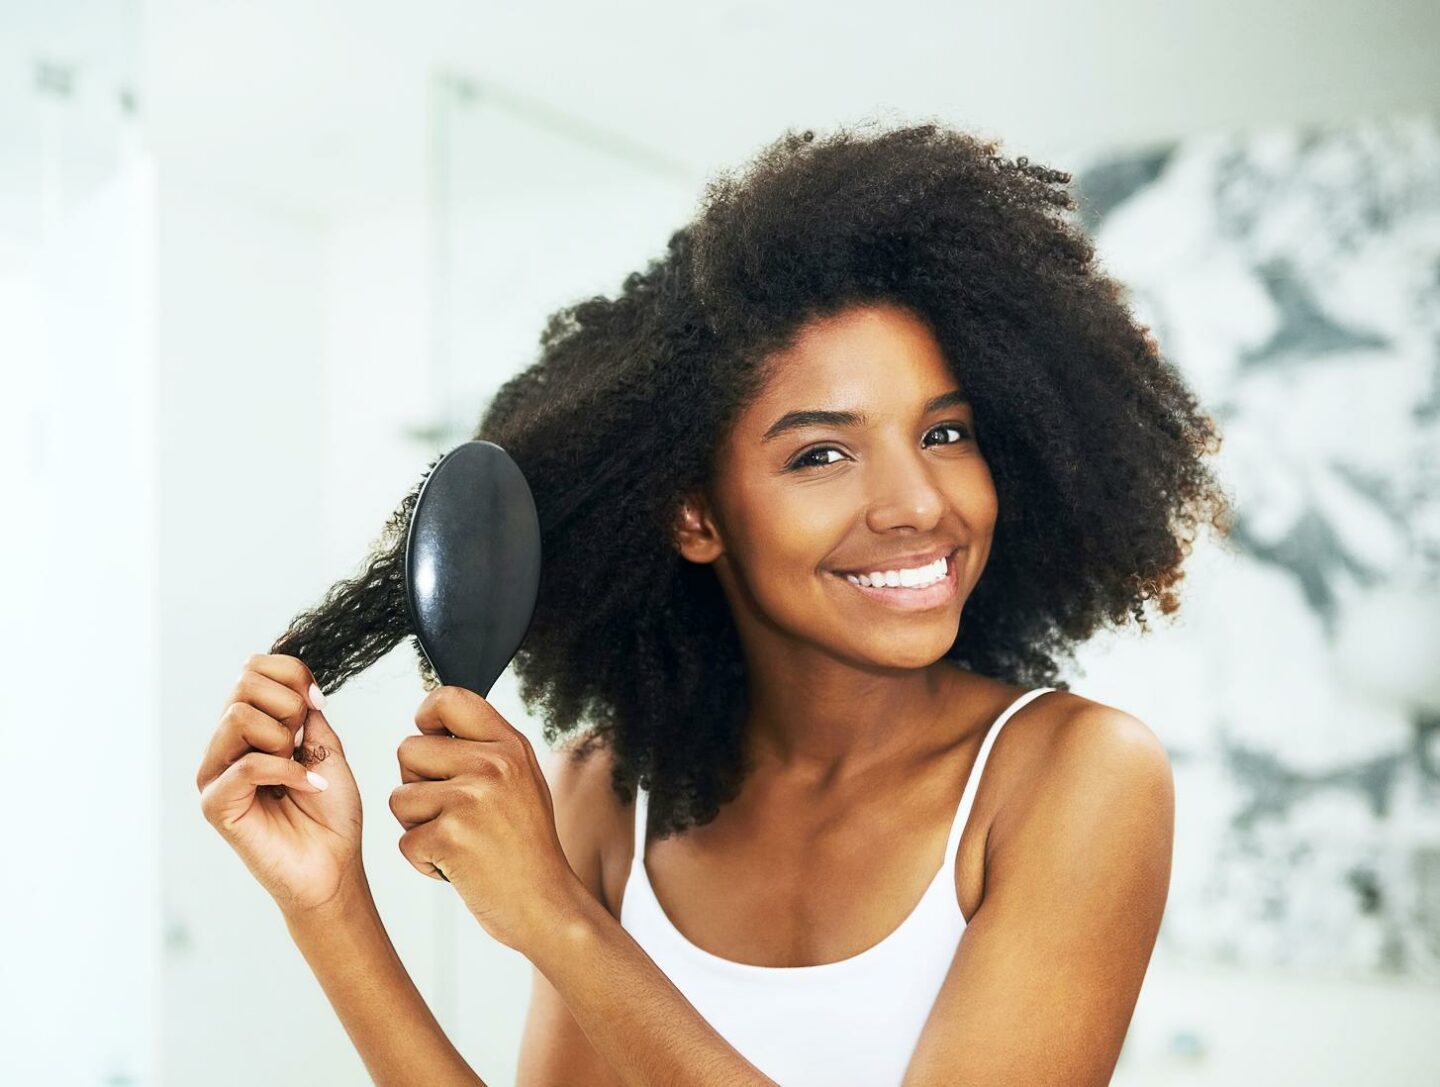
Since detangling brushes have become a thing, everyone has been trying to get their hands on one. They are considered the “holy grail” of detangling those kinks and knots that make you wanna pull your hair out rather than deal with ‘em. But remember: Everything is better in moderation! Many have found that overuse of detangling brushes can cause some real bad breakage, so we’d advise you to use them only when your fingers won’t cut it. Also don’t brush from the scalp — if you do you are setting yourself up for some massive breakage that you may not be able to recover from. Your hair is at its most fragile when it is wet and especially when it is tangled. Brushing from the scalp while your hair is detangled is equivalent to literally ripping your hair out from the follicle and this is what can cause more breakage than you might anticipate! So, make sure to be extra gentle with your strands and really careful with the way you detangle your hair or you might regret it.
Below are our three top picks for detangling brushes. We chose them according to quality as well as ease of handling (trust us, you will definitely want a detangling brush with a handle if you’ve got a lot of hair).
According to Swivel stylist Samantha Banks at Bespoke Studio in Washington, DC, these brushes are great for 4B or 4C hair that tends to knot on the ends. For use, she suggests to start vertically and slowly work your way up.
↓↓↓↓ Our Top 3 Detangling Brushes ↓↓↓↓
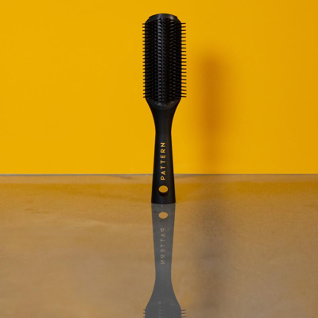
1 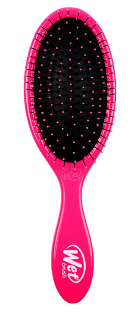
2 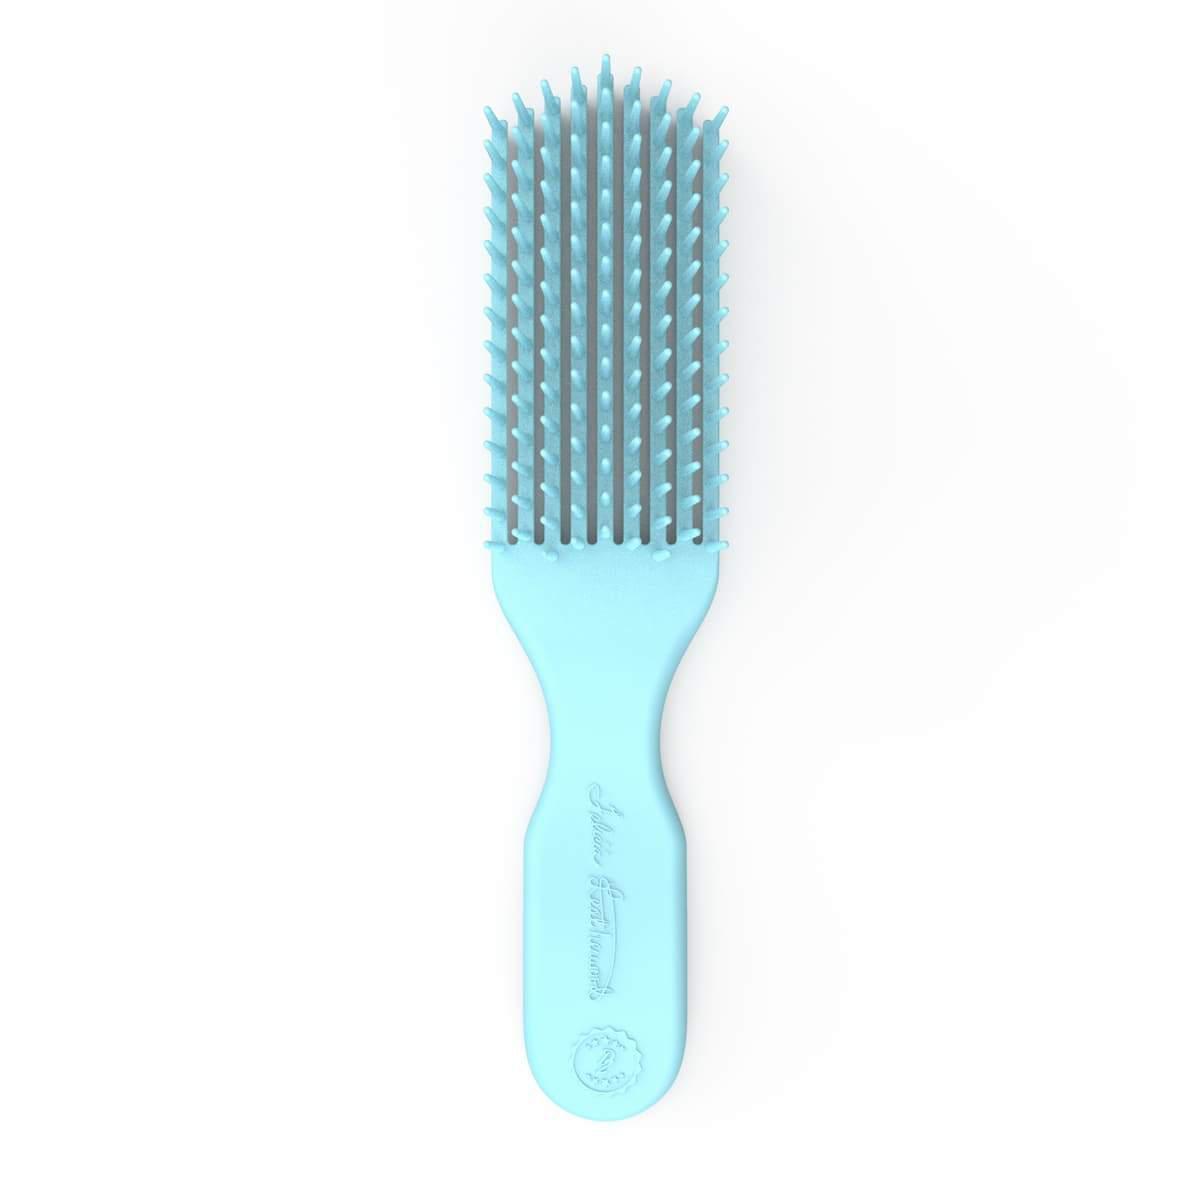
3
Wig & Weave Brushes
Your work isn’t done when you get out of the chair after having that wig installed or that frontal sewed in. While wigs and weaves are great low-maintenance styles, whether it’s 100% Brazillian or good ol’ synthetic, you still have to take care of the hair under it. And for maintenance, your brush is your definitely your best friend.
Take it from our fellow stylists Whitney Green (of Whitney Green Co.) and Britnee Kristene (of Britnee Kristine Beauty Boutique) who not only provided us with some brush recommendations that we’ve included below, but their expert advice on how to use a brush on your new wig or weave:
Start with clean hair. Before you can even think about brushes your wig, make sure it’s clean, says Britnee: “When cleansing your unit, it’s always best to begin detangling while the conditioner is still in the hair! Unless you sweat profusely, try not to shampoo your wig too often as it can strip the hair and be very drying which will cause frizz. Always, always, always condition your unit after shampooing. NEVER condition near the lace!”
Brush with care. “You should always remember that the wig or weave is not growing straight from your scalp — it is attached by thread so being very gentle and applying little to no tension to where the hair is attached will prolong your install,” says Whitney. “And you should always brush your wig or weave starting from the bottom at the ends and then work your way up to the top where the roots are. Once you have done this through the whole head then you can brush at the root back down to the ends. This technique will help you to detangle either your wig or weave install as well as prevent further tangling.”
Brush sparingly. If the hair on your wig is of high quality, Britnee says you most likely won’t have to brush it more than twice a day—once in the morning and once at night. This is good because excessive brushing can lead to shedding.
↓↓↓↓ Our Top 3 Brushes For Wigs & Weaves ↓↓↓↓
1 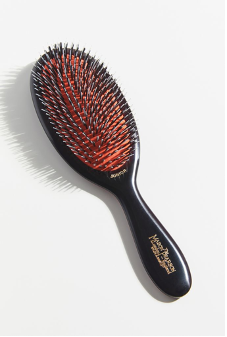
2 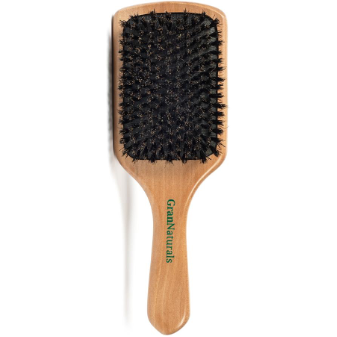
3
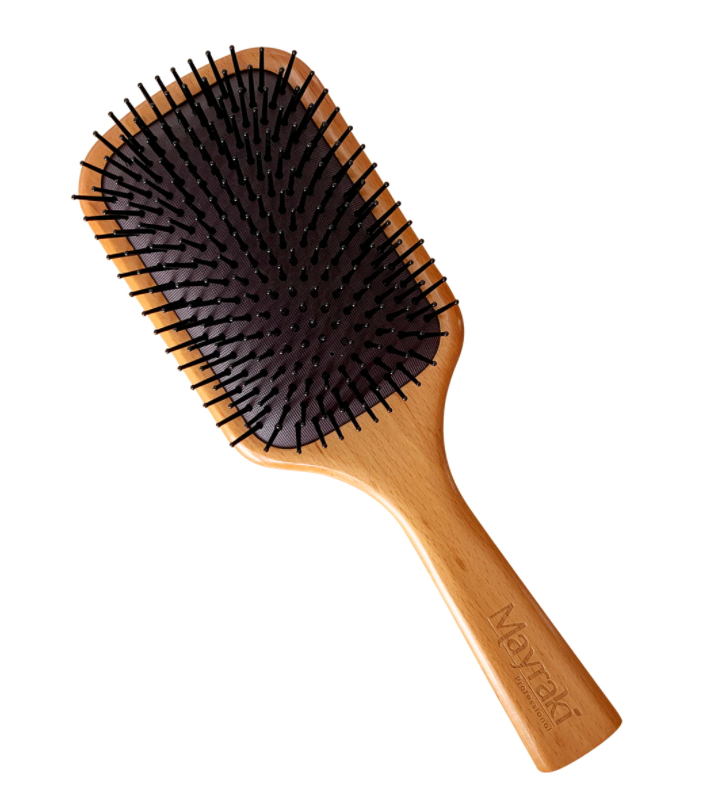
- “Wooden Paddle Brush” by Mayraki (~$20) —Britnee told us that this brush is especially useful for using while washing your wig. However, for dry styling (i.e. smoothing and polishing the hair) the
- “Boar Bristle Brush” by Mason Pearson (~$225) is your go-to, Britnee says, and Whitnee agrees: she highly recommended this brush for use on wig and weaves. We realize that it may be a little on the pricier side though, so for an inexpensive alternative, check out the
- “Boar Bristle Paddle Hair Brush” by GranNaturals (~$15) for similar results.
FIND & BOOK STYLISTS WHO KNOW BLACK HAIR
Discover & book hairstylists you can trust with your kinks, coils, and curls.
Better hair days are here.
Stylists: Want to get listed? Sign up here.
powered by
Blow-Drying Brushes
Let’s face it—there are SO many things that can go wrong when applying heat to our hair, the last thing we’d want is to use the wrong brush along with it. We spoke to two Swivel stylists—Samantha Banks and Alysha Alston—to get the scoop on what you should know while using a brush for blow drying.
Alysha primarily specializes in styling natural hair, but her tips are applicable to all curly hair types, including relaxed hair. For starters, she suggests applying a combination of a leave-in conditioner and oil while detangling wet hair. She places a lot of emphasis on detangling the hair before blow drying, so if you skipped over that section of the article on best brushes for detangling, scroll up and read that first.
Pre-dry your hair. “One of the mistakes women make while blow drying is to start with sopping wet hair,” says Banks. “It’s best to pre-dry hair by wrapping it in a towel to remove excess water — your hair should be 60-70% dry before you start to blow dry with a brush. After detangling, section the hair into four parts. It’s important to use the blow dryer’s nozzle attachment to concentrate the air-flow on the section you’re working on to prevent frizzing. Set the temperature on medium, and use only your hands for a bit to separate the hair. Then, start brushing at the root.”
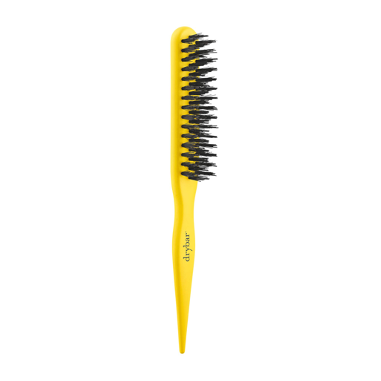
↓↓↓↓ Our Top 3 Brushes For Blow Drying Your Hair ↓↓↓↓
1 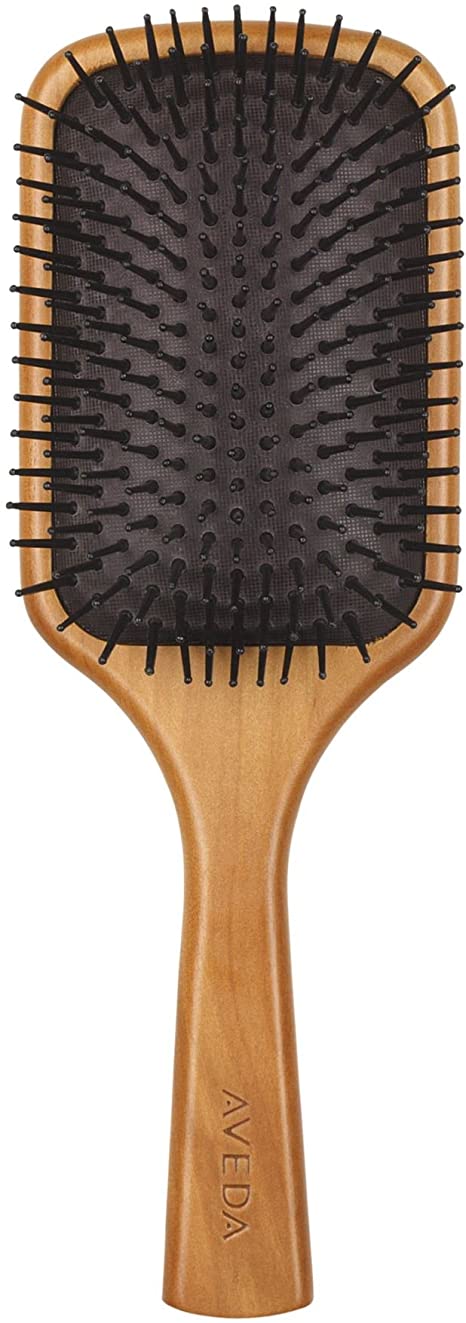
2 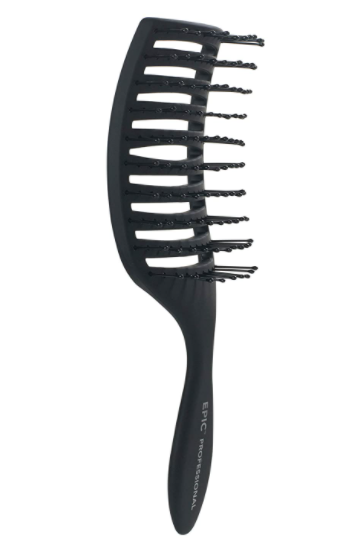
3
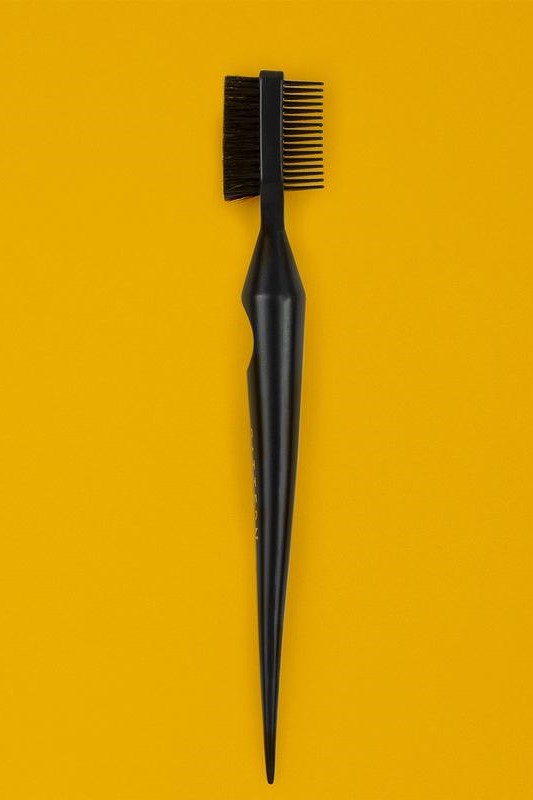
Edge-Taming Brushes
Want try your hand at creating those curly, coily, cute patterns on your edges that are all over Instagram? The OGs of edge styling know that back in the day, you had to use what was at your disposal (which for some of us was a toothbrush) to achieve the edge style you wanted. That was then though—this is now.
Now, there are plenty of options to choose from for brushes specifically designed to slay our edges! Many of them come with different bristle options for touch-ups, creating a certain type of curl or coil pattern, or simply just laying them down. These brushes are usually made with bristles gentle enough to be used on the fragile strands of hair that make up our edges. Preventing breakage is especially important when using any type of brushes. After all, you wouldn’t want to be caught with no edges right?
We didn’t think so!
↓↓↓↓ Our Top 3 Brushes For Your Edges ↓↓↓↓
1 
2 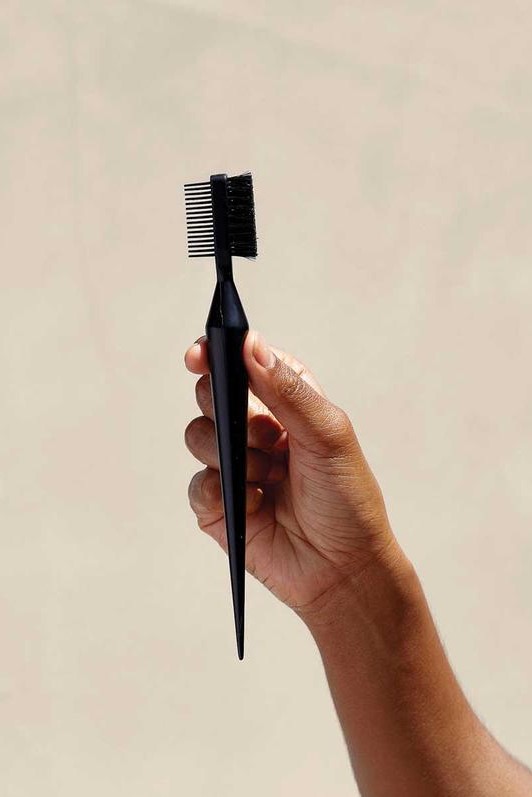
3
Teasing Brushes
You might be wondering what the purpose of a teasing brush is, but that’s the beauty of them: there is no one purpose for them because they have many! You can use them to tame fly-aways for creating a “neater” finish, take care of uncooperative baby-hairs, create volume or refine texture — the possibilities are endless! Our fellow stylist Tina Pearson of Tina Pearson Salon shared with us some tips for doing a DIY style with a teasing brush:
For DIY. “At times when teasing for a good DIY you need a thinner brush. A true teasing brush is sleek and allows you to easily get close to your scalp,” Tina told us. “Using a brush that is sleek, easy to hold, and easy to manage and can allow one to create back and forth up and down strokes for temporary volume and fullness at the root.” Teasing is especially useful for finer textures to appear fuller and thicker and minimize scalp visibility (so good news for those of us with a fresh silk press or permed hair 😉 and any unwanted parts.
Finishing the look. While using the brush, Tina tells us that we should first, “spray a hair spray like Matrix’s Style Fixer Finishing Spray to the root. Next, “gently backcomb, and then brush over the hair for a smooth finish. Then, “finish with a shine serum of your choice.”
And lastly, Tina reminds us that although it might be fun to do DIY looks with teasing brushes, it should be an occasional thing — “Teasing should be done in moderation and hair should be detangled at the end of the night to prepare your hair for bed and avoid tangling and unnecessary brushing.”
↓↓↓↓ Our Top 3 Teasing Brushes ↓↓↓↓
1 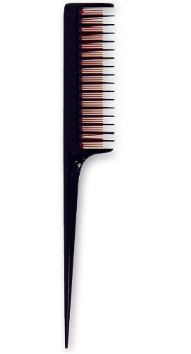
2 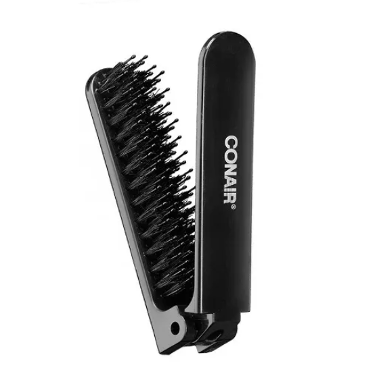
3