
So…you want box braids or twists or faux locs?
We’ve got ya covered. In order for protective styles to truly protect your hair, you have to make sure your tresses can handle the extra tension. What you do before, during, and after getting a protective style can be the difference between a much-needed styling break and more damage. Sounds like a lot of work, right? Don’t stress. We’ve broken it down into simple steps in our braids guide with product, hair, and stylist recs so you’ll know exactly what you need to do, no matter where you are in the process. Ready? Let’s get started.
Step 1: Prep Hair, Pre-Install
Before you even consider getting braids, make sure your hair is healthy and strong. You can avoid unnecessary breakage with a few proactive steps.
Go deep.
Nahomie, a stylist and frequent braider at Just Because Hair Salon in downtown Brooklyn, recommends getting a very intensive moisturizing treatment before installing braids because your hair dries out and flakes more quickly while in protective styles. And don’t put in braids immediately after getting a relaxer—give your hair a few weeks to bounce back after a chemical treatment to prevent breakage.
Dust your ends.
Even if you hate to lose length, trims are truly the key to growth. Keri at Ursula Stephen The Salon in Fort Greene, Brooklyn, recommends a trim every six to eight weeks, whether you’re rocking braids or not. If you can’t remember the last time you had a decent cut, it’s a good idea to get those ends snipped first.
Find the right stylist.
Your regular stylist may not do box braids, faux locs, or twists, so you’ll need to find a stylist who can help you achieve the look you want. Luckily, we can help. Search our app for top braiders we recommend in NYC. Not in New York? Email us at info@swivelbeauty.com, and we can send you personalized recs in your city!
Shop Our Braids Survival Kit


Step 2: Braids & Beyond
Here’s how to come ready for your appointment and what to do during and after you leave the shop.

BYOH (Bring Your Own Hair).
Before you get to your appointment, you’re going to need to buy hair (most stylists don’t stock or sell hair). Check out our hair buying chart for how much hair you may need to purchase for popular styles. When in doubt, ask your stylist; she may have a brand of hair she recommends or works with often.
Gauge tightness.
Pay attention as your stylist gets started. If, after a few braids, your scalp feels really tight, speak up! You should never feel like your braids are pulling your scalp or that you’re in literal pain. And don’t forget to do a check early so you’re sure you’re getting the length and thickness you want.
Opt for the topknot.
After your braids are installed, switch up your style every few days. Long, thick braids can weigh you down and put added stress on your roots. Give your scalp a break by tossing your hair in a high bun.
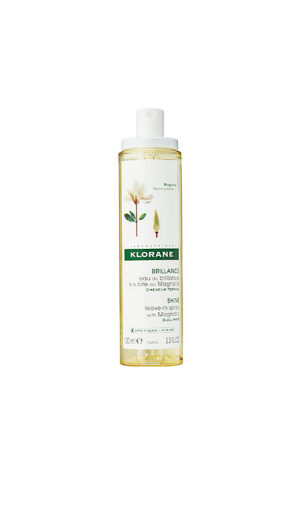
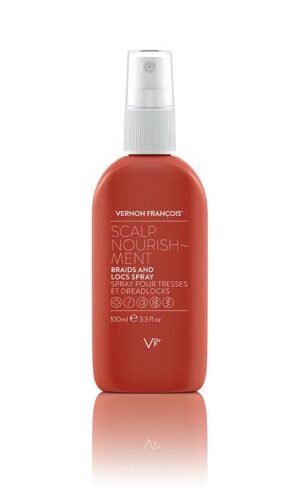
Moisturize. Moisturize. Moisturize.
If you’re prone to dryness (which most of us are, especially when we have in protective styles), a super-moisturizing leave-in conditioner will be your best friend; apply liberally a few times per week. At night, use a silk bonnet and secure braids with an elastic tie.
Step 3: The Take Down
A few quick steps to keep in mind when you’re done with your style.

Know when to let go.
SIX WEEKS. That is the absolute max amount of time you want to leave braids in to avoid breakage and dreading. While some people will swear you can go double that, our stylists wouldn’t recommend it. Besides, a protective style is meant to help your hair grow—don’t sabotage your #hairgoals by extending a look long past its expiration date.
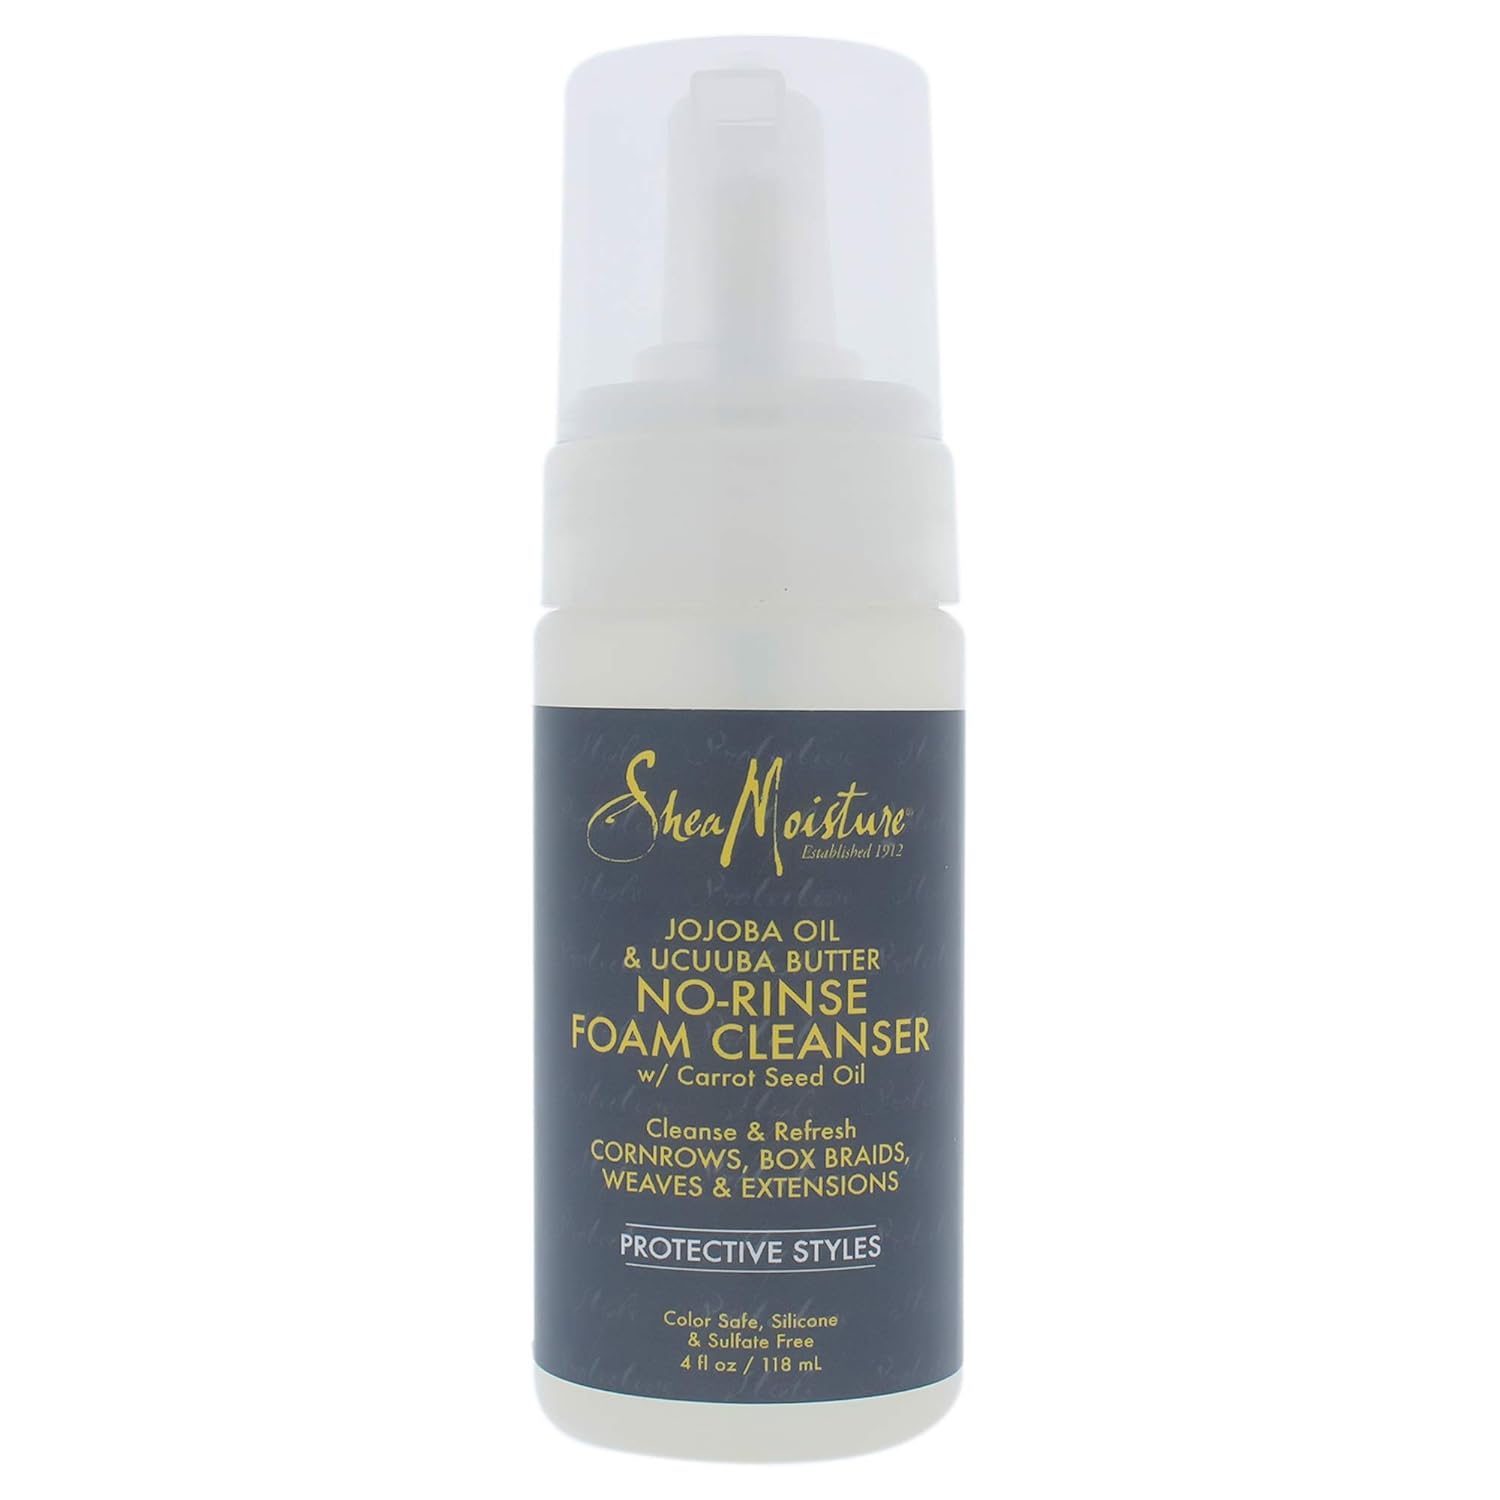
Wash, condition, trim.
After you or a stylist removes your braids, book a styling session that truly gives your hair the deep cleansing and treatment it needs. And since it’s probably been six weeks, you’re also due for a trim.
Give your scalp a breather.
Keri suggests waiting at least two weeks before reinstalling any type of extensions to give your scalp a rest and avoid excessive pulling along the hairline. You’ll save your edges and keep your hair healthy.